Entering and Managing Indicators
View Indicators
Section titled “View Indicators”Your site owner should have already set up Indicators for you. If you don’t see any Indicators or need to add a new one, please check with your site owner.
-
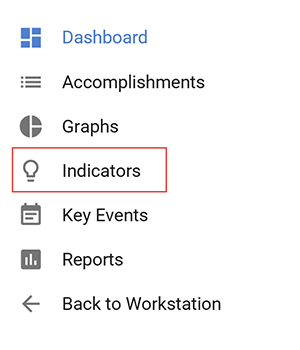
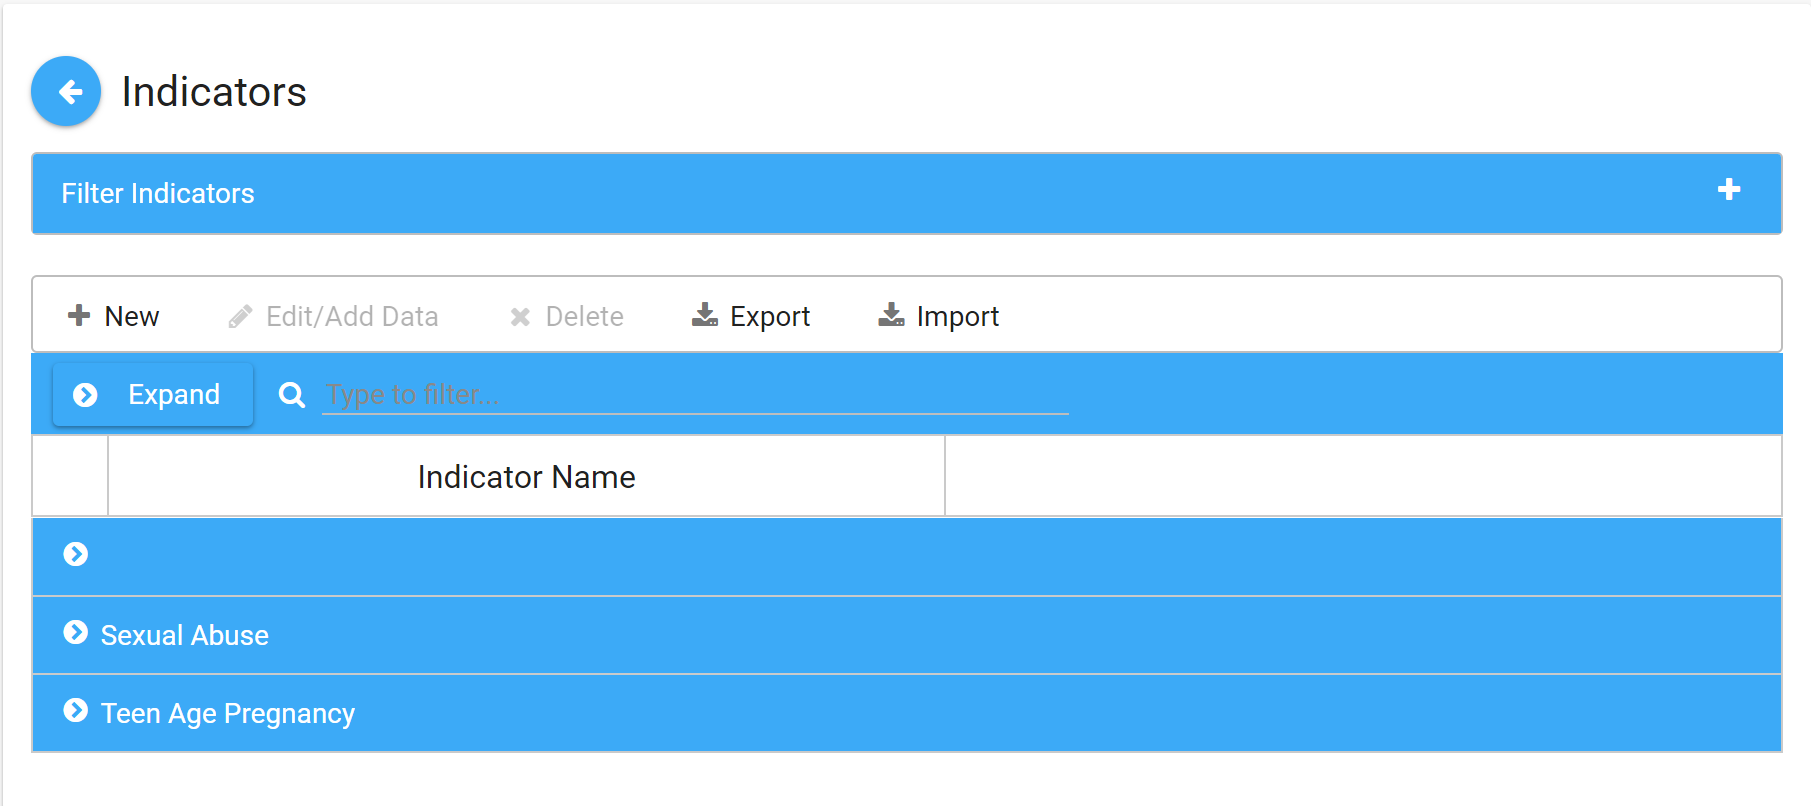
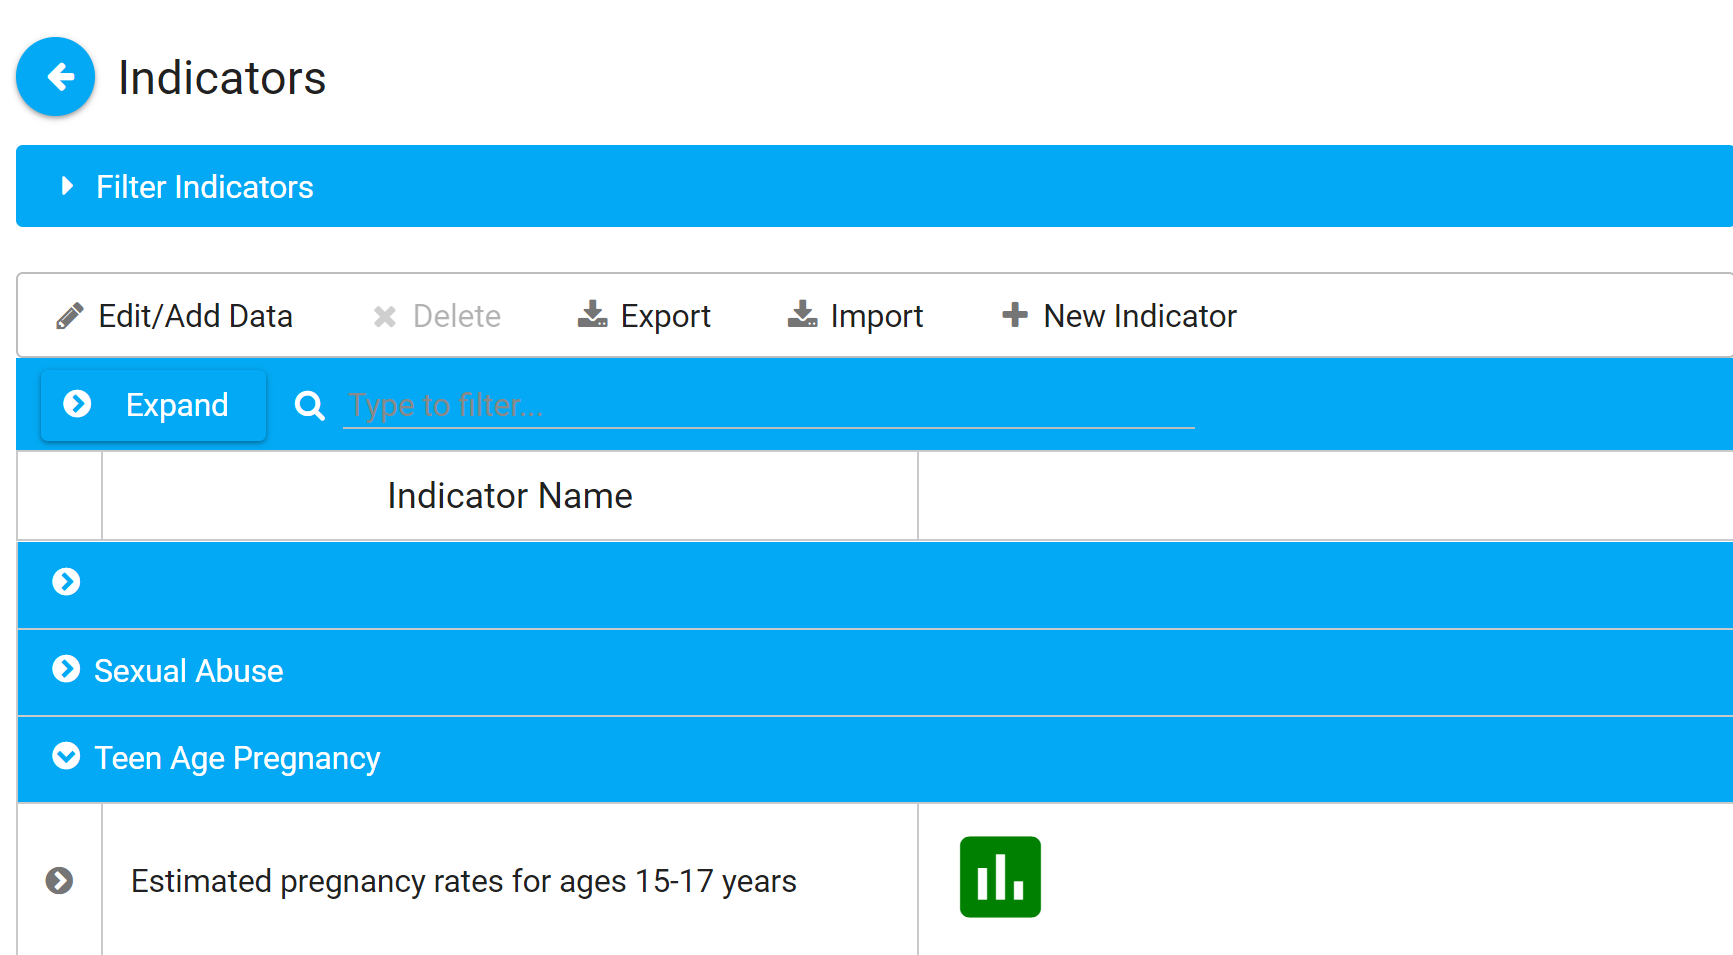
Click on Indicators in the left navigation bar. This will take you to the Indicators listing page.
-
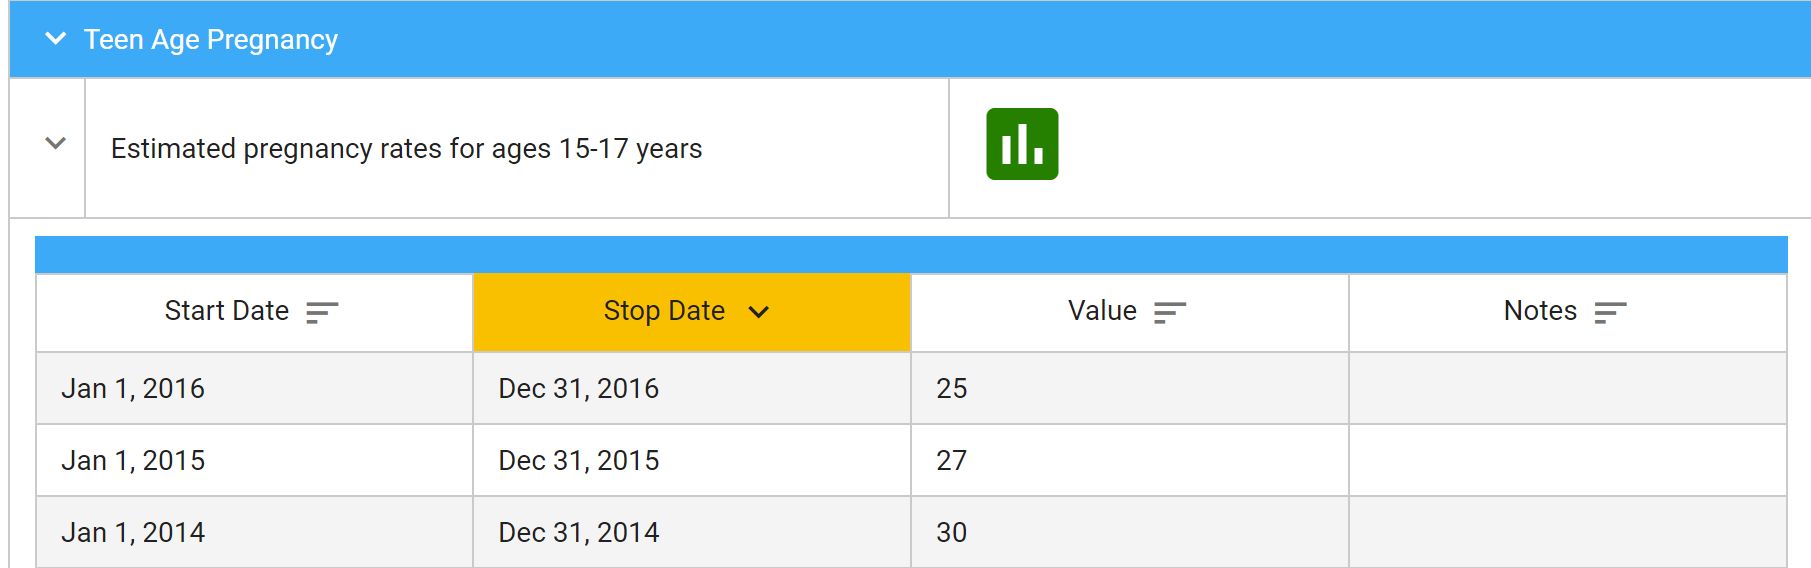
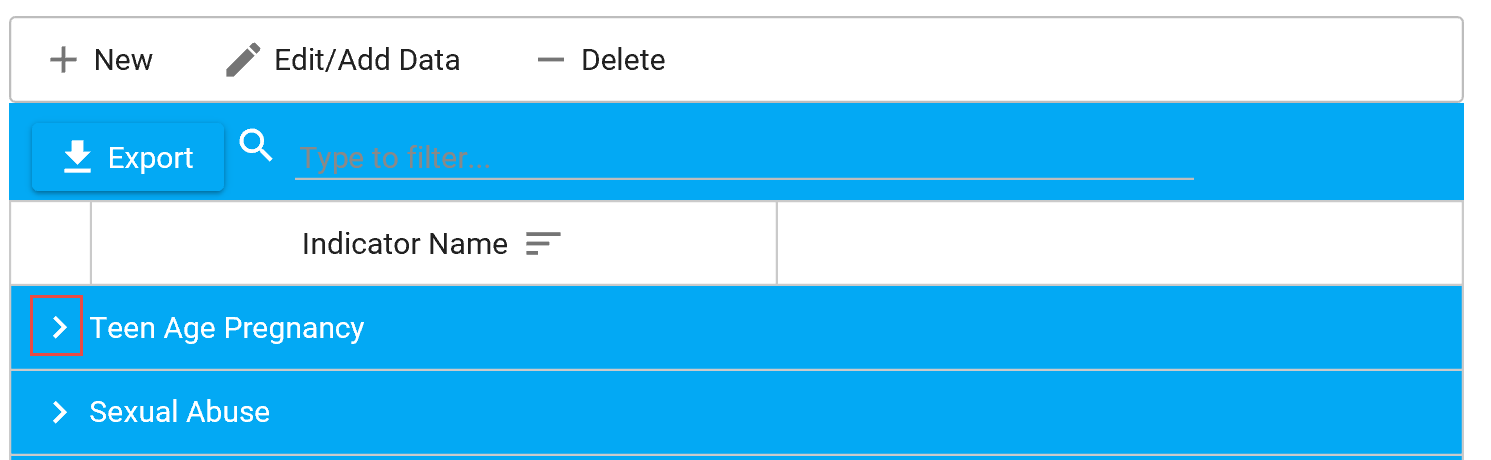
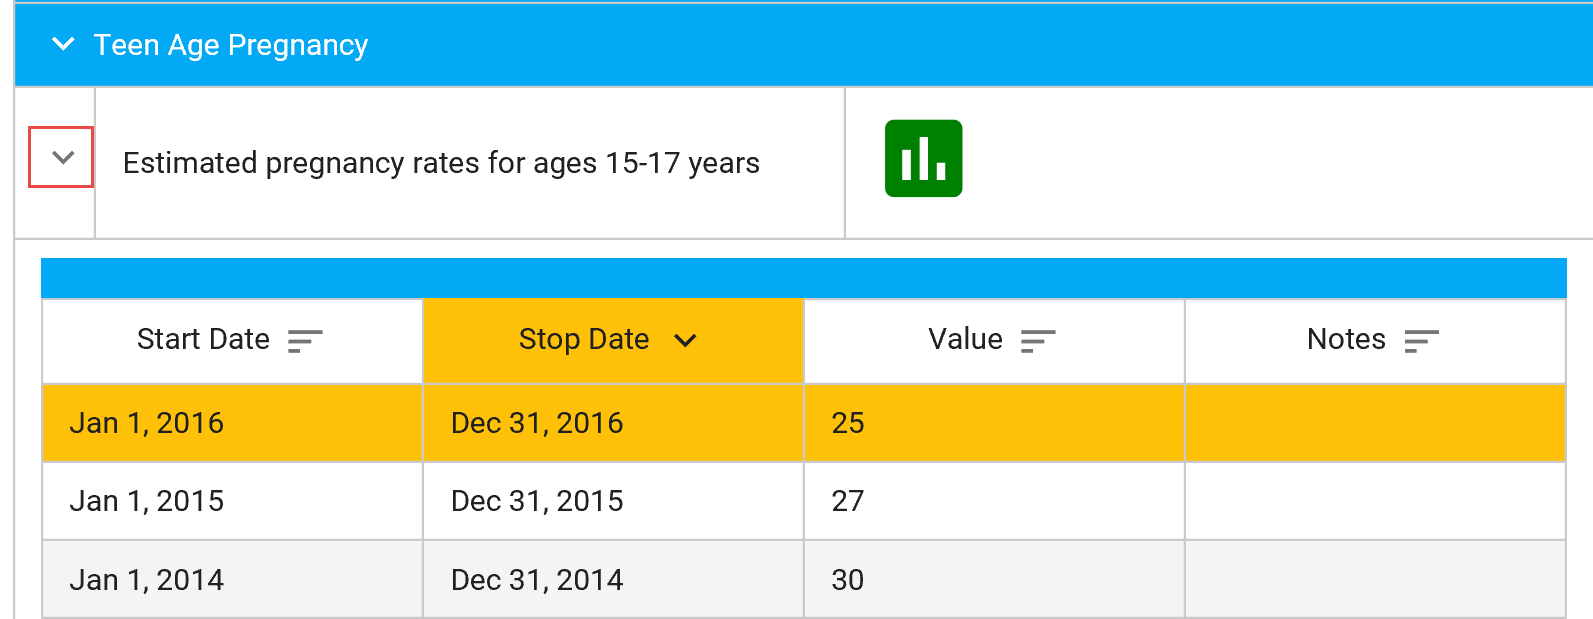
To view the existing indicator data, click on the > to the left of the indicator you want to view. This will display all existing data for that indicator.
-
From this page you can add data or make edits to existing indicators, or filter to view just what you want.
Enter New Indicator Data
Section titled “Enter New Indicator Data”-
Click on Indicators in the left navigation bar.
-
Click on the > to expand the category (e.g., Teen Age Pregnancy).
-
Click on the category (e.g., Estimated pregnancy rates for ages 15-17 years), and then click Edit/Add Data.

-
Click the Add button at the bottom of the page.

-
Enter the Start Date, Stop Date, Value, and Notes (optional) for the current time period.
-
Click Save.
-
If you decide not to make any additions or changes, click Cancel to leave without making changes.
Edit Existing Indicator Data
Section titled “Edit Existing Indicator Data”If you need to revise your data:
-
Click on Indicators in the left navigation bar.
-
Scroll to the category you want to update.
-
Click on the > to expand the category.
-
Click on an existing entry to edit.
-
Make the edit and click Save.
Filter Indicator View
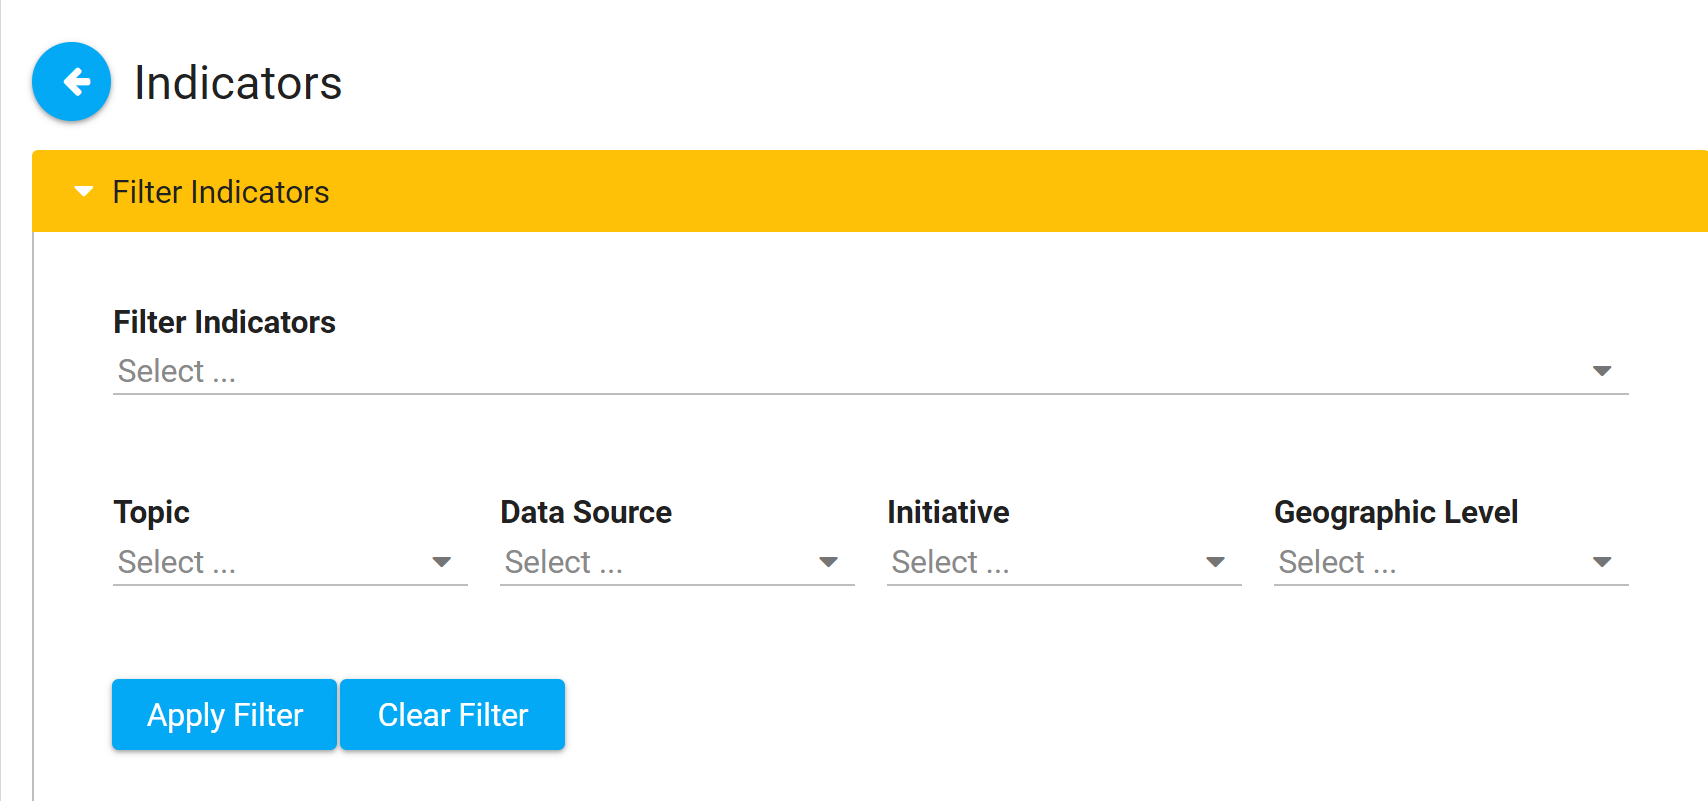
Section titled “Filter Indicator View”You can select from the following filters to choose what data you view:
Export Indicators
Section titled “Export Indicators”- Click on Indicators on the left navigation bar.
- If you want to export all Indicators, click Export.
- If you want to export specific entries:
- Click Filter Indicators and select the filters you want.
- Click Apply Filter.
- Click Export.
Import New Indicator Data
Section titled “Import New Indicator Data”Admin Only: Only Site Owners/Administrators and KU staff have the ability to import Indicator data. The data can be set up first in Excel by anyone (Member/User or Owner/Admin).
-
Download the Indicator Import Template (.xlsx) for populating your data. This document includes sample data as guidance, which should be removed.
-
The Indicator Name is an open text field, not prepopulated from a dropdown list. It should be whatever you wish to call this new Indicator, and the name should remain consistent for each entry. Most other data will be replicated in each entry, with the exception of the last four columns: Start Date, Stop Date, Value, and Notes.
-
All columns are required for import, with the exception of Geographic Level and its related columns. If Geographic Level is filled out, the corresponding column for County, State, City, or Custom Location should be filled in as well.
-
Even though all column headers are required for import, the Notes field data is optional. Make sure the header is included, however, or it will cause an error during import.
-
You may include more than one indicator in the same Excel document. They will automatically be grouped together in the CCB upon import, based on the Category and Indicator Name, so make sure those match exactly for each indicator included.
-
After completing the data, please contact a Site Owner/Admin or KU staff member to complete the import for you.